
Introduction
Organizing photos on your iPhone can become overwhelming as images accumulate over time. With countless memories captured, a disorganized photo gallery makes it challenging to find specific images quickly. In this guide, we will walk you through the steps to create folders for pictures on your iPhone, ensuring a streamlined, efficient way to manage and categorize your gallery. By the end, you’ll not only have a clearer photo library but also a better grasp of the organization tools available on your device.
Understanding iPhone’s Photo Management System
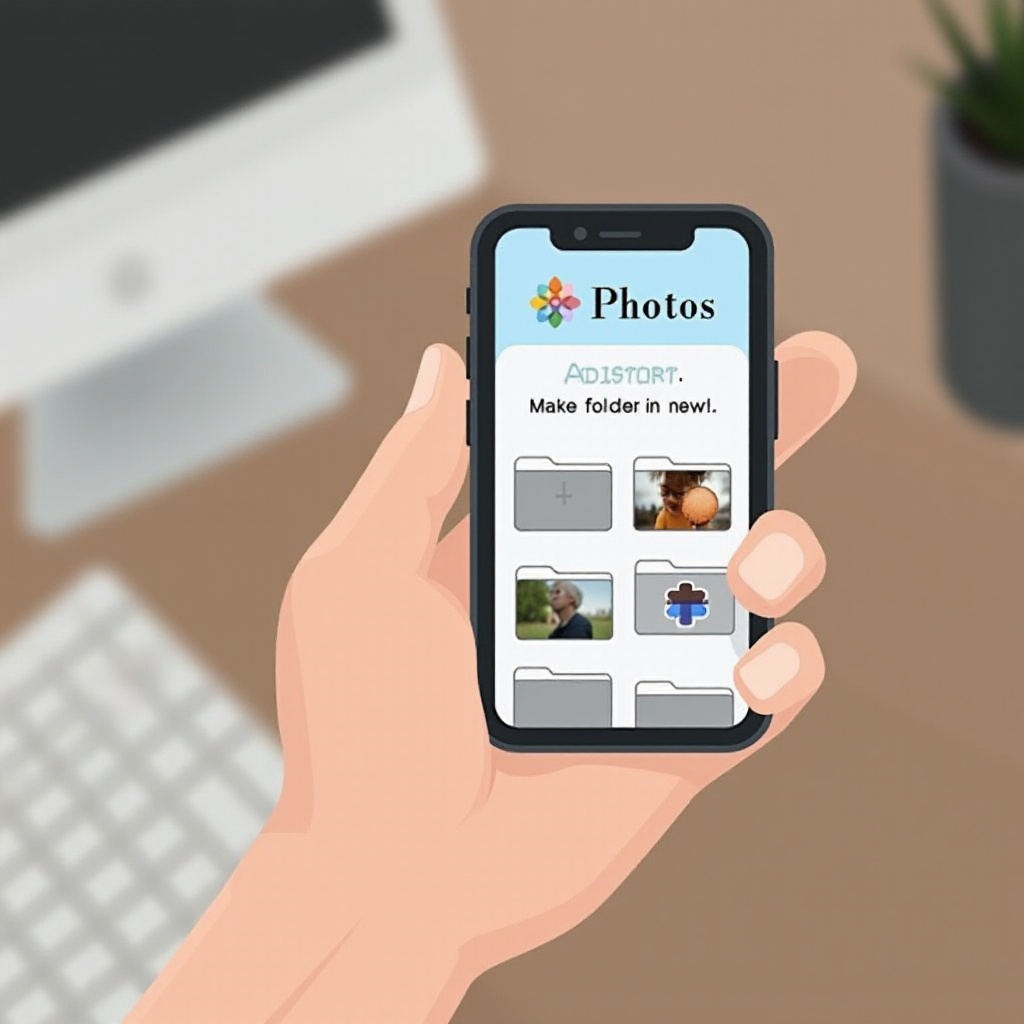
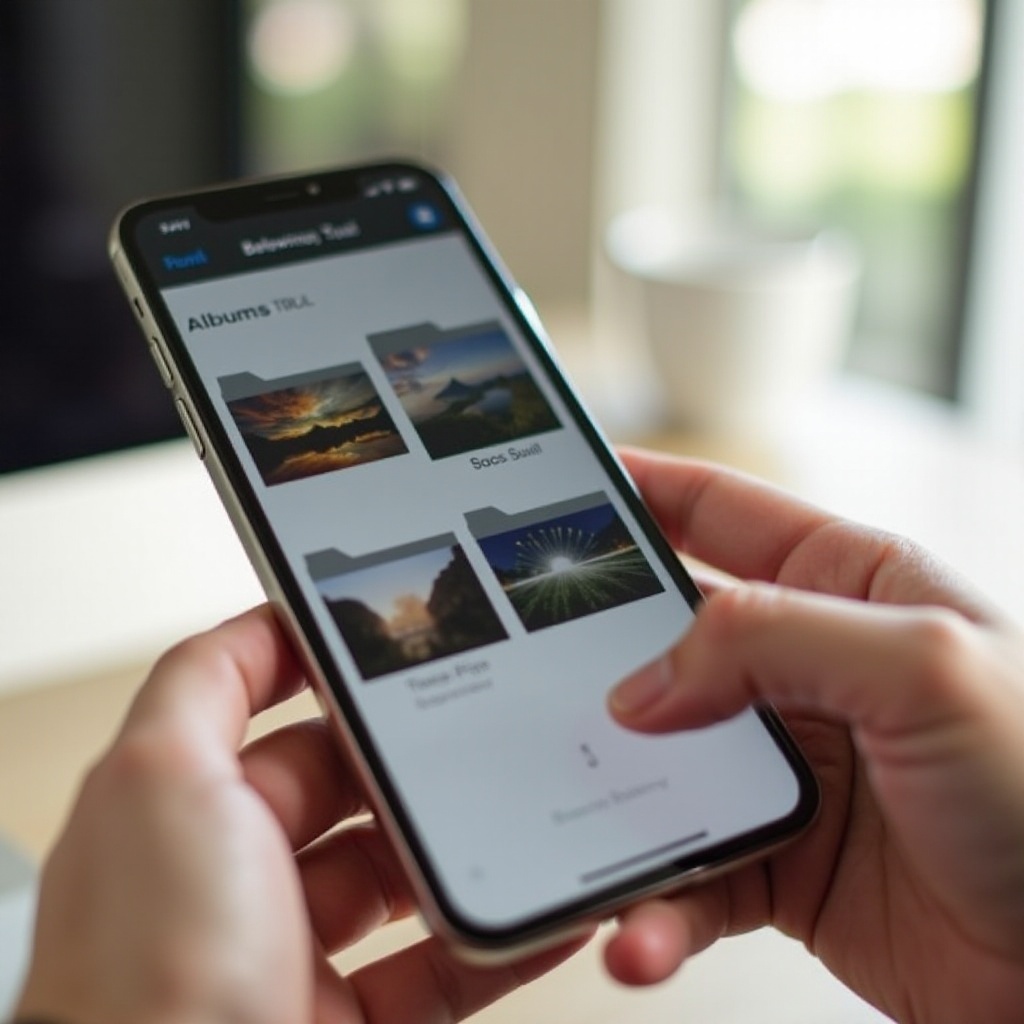
Apple’s iPhone is equipped with a robust Photos app designed to help users manage their images effectively. Understanding this system is crucial before diving into creating albums and folders. The Photos app uses albums to sort pictures, and these can be grouped into folders. Though iOS doesn’t allow for nested folders like on a computer, albums serve as the primary organizational units.
To improve your photo management experience, utilize features like the ‘Favorites’ album for quick access to cherished photos and the ‘Recents’ album that automatically updates with your latest captures. Leveraging these tools will help reduce initial clutter and lay the foundation for further organization.
Step-by-Step Guide to Creating Albums and Folders
Now that you understand the basics, let’s dive into the step-by-step process for creating albums and folders:
- Creating a New Album:
- Open the Photos App and tap on ‘Albums’ at the bottom.
- Tap the ‘+’ button at the top-left corner, select ‘New Album,’ and name your album for better identification.
-
Once named, select photos to include in this album and tap ‘Done.
-
Organizing Albums into Folders:
- Access My Albums by tapping ‘Albums’ in the Photos app.
- Tap the ‘+’ button, choose ‘New Folder,’ and enter a name.
-
Tap ‘Edit,’ drag desired albums into your new folder, and organize them for clarity.
-
Tips for Efficient Album Naming:
- Use descriptive names like ‘Family Vacations 2023’ or ‘Jonathan’s Birthday.
- Stick to a consistent naming convention for easy searching, such as dates or events.
Following these steps will significantly improve your gallery organization, making it simple to find desired photos without endless scrolling.
Utilizing iCloud for Photo Organization
With albums and folders set up, extending their accessibility across devices enhances the experience. This is where iCloud comes into play. By enabling iCloud Photos, you sync your images and albums on all Apple devices seamlessly.
Setting Up iCloud Photos:
– Navigate to ‘Settings’ on your iPhone.
– Tap on your name at the top, then ‘iCloud.
– Enable ‘Photos’ to start syncing across devices.
iCloud not only offers syncing but also acts as a backup solution. Should you lose your device or need more storage, iCloud ensures your images remain secure and accessible.
Managing Photos Across Devices: You can view and organize your albums from any device connected to your iCloud account, ensuring continuity and ease of access.
Sharing Photo Albums and Folders: Use shared albums to collaborate and share moments with friends and family who can add their photos, turning a simple album into a collective memory bank.
Implementing iCloud Photos ensures you can fetch an image from any Apple device, whether you’re organizing on an iPad or sharing an album on a Mac.
Advanced Features: Using Third-Party Apps for Enhanced Organization
While the Photos app provides good basic organization, third-party apps can offer enhanced features. These apps often come equipped with additional capabilities like advanced tagging, improved sorting criteria, and AI-driven categorization.
Recommended Apps for Photo Management: Explore apps such as Google Photos, which allows automatic categorization by people and things, or Amazon Photos, known for unlimited storage options.
Features to Look for in Photo Apps: Consider apps that offer face recognition, smart tagging, automated album creation, and user-friendly interfaces. They can save time and provide better personalization.
Integrating Apps with Your iPhone: Ensure any third-party app is set to sync with your existing photo library, maintaining integrity and ease of access across apps.
Through these apps, you can elevate your organizational game, utilizing AI-driven tools and additional benefits to further simplify your photo management tasks.
Best Practices for Maintaining an Organized Photo Library
A well-organized photo library requires ongoing maintenance. Here are some best practices to keep your albums tidy:
- Regular Reviews and Clean-ups: Set aside time monthly to delete duplicates, blurred, or unnecessary images.
- Using Tags and Metadata for Easy Search: Apply tags to photos for easier sorting, either through Apple Photos or third-party apps. Metadata, like dates and locations, can assist.
- Backing Up Photos Regularly: Ensure your images are backed up either through iCloud or external services to prevent data loss.
By integrating these practices, you will keep your photo library clean, easily navigable, and protected against data loss.
Conclusion
Organizing your photos on an iPhone doesn’t have to be a daunting task. By mastering the use of the Photos app, leveraging iCloud, and exploring third-party applications, your photo library can become a model of organization. Say goodbye to the clutter and hello to a seamlessly organized memory archive.
Frequently Asked Questions
Can I create nested folders for photos on my iPhone?
Unfortunately, iOS doesn’t support nested folders directly within the Photos app, but albums can be grouped into folders for basic organization.
What are the benefits of using iCloud for photo organization?
iCloud offers seamless syncing across Apple devices, secure cloud backup, and easy sharing capabilities, ensuring your photos are accessible and protected.
How often should I clean up my photo library?
Aim to review and tidy your photo library at least once a month to keep it organized and manage storage efficiently.