Introduction
Converting your monitor into a TV is an efficient way to enhance your home entertainment setup. This not only saves money by repurposing existing equipment but also helps in maximizing your available space. This guide details everything you need to know to perform the transformation successfully, including essential equipment, steps to follow, and potential challenges.

Necessary Equipment for Conversion
To begin this conversion, ensure you have the right tools and materials on hand. These items will facilitate the process and ensure a seamless transition.
Identify Your Monitor’s Input Types: Start by checking the input options on your monitor, such as HDMI, VGA, DVI, or DisplayPort. Knowing these will inform the choice of cables and adapters needed.
Required Cables and Adapters: Typically, an HDMI cable works best for most setups. If your monitor doesn’t have an HDMI port, you’ll need the appropriate adapter to bridge the connection.
Optional Equipment for Optimal Viewing: For a richer experience, consider additional equipment like a streaming device, external speakers, or even a small HDMI receiver for improved audio and video quality.
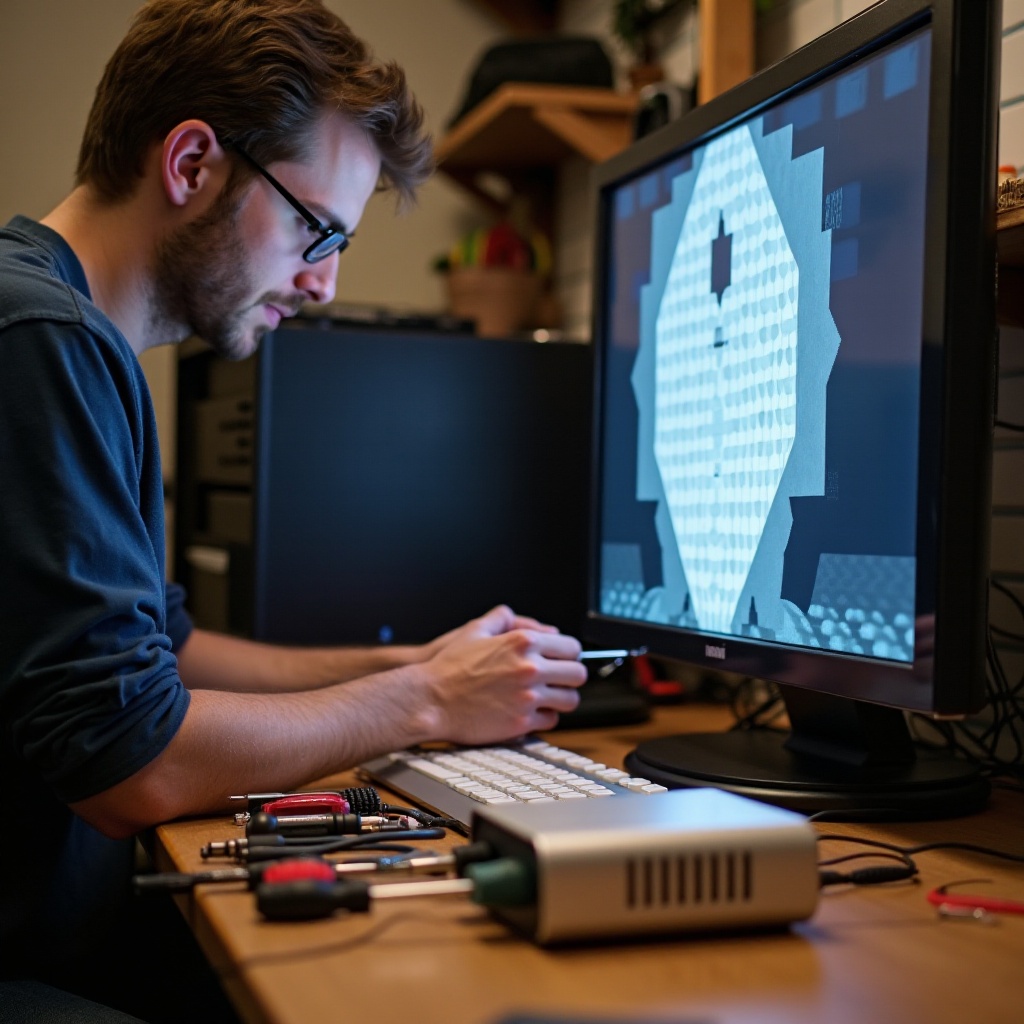
Step-by-Step Conversion Process
Equip yourself with the right materials, then follow these detailed steps to complete your monitor-to-TV transformation:
-
Check Compatibility: Ensure your monitor and any secondary devices, such as a streaming stick or cable box, are compatible. This sometimes involves confirming that the input and output ports match or require an adapter.
-
Physical Connection Setup: Use your HDMI cable or adapter to connect the media source to your monitor. Secure all connections firmly to avoid disruptions.
-
Initial Troubleshooting: Test the setup. If there’s no display or the audio malfunctions, reassess your connections or check user manuals for your specific device to troubleshoot effectively.
Setting Up Audio
To get the most from your new setup, focus on configuring audio properly, as it plays a crucial role in the viewing experience.
Using Built-in Monitor Audio: Many monitors have built-in speakers. If sound is weak or unclear, consider connecting audio through an HDMI connection if supported, or utilize an auxiliary cable for sound.
Connecting External Speakers: For better sound quality, external speakers or a soundbar can improve audio output. These can typically be connected via an audio jack directly to the monitor or through Bluetooth, if available.
Enhancing Audio Experience: Invest in a soundbar or a small amplifier for rich, immersive audio quality. Experiment with various audio settings to find what best suits your preference.
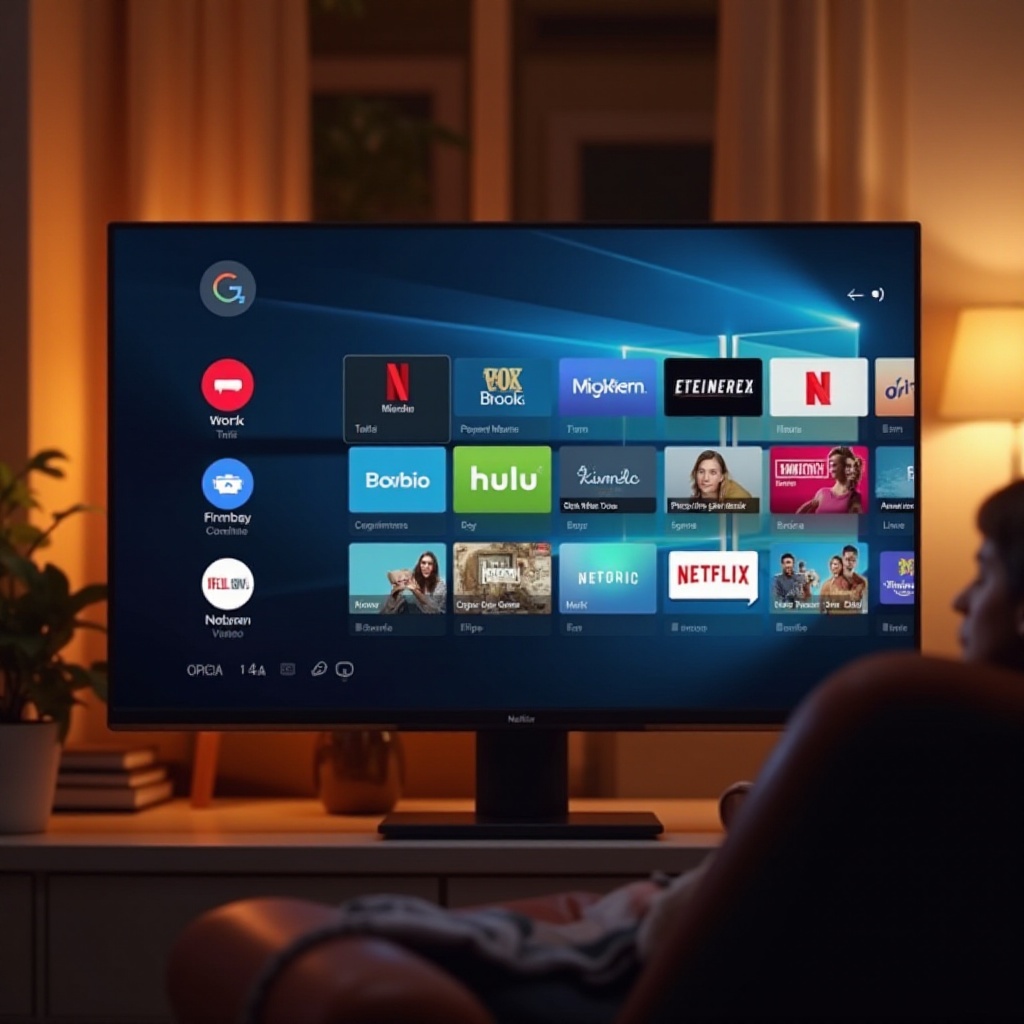
Content Options for Your Monitor TV
With your monitor ready to act as a TV, explore several options for consuming content via various platforms:
Connecting Streaming Devices: Plug devices like Roku, Chromecast, or Amazon Fire Stick into an available HDMI port for access to a plethora of streaming services, from Netflix to Hulu.
Setting Up a Cable Box: Connect your cable box to the monitor using HDMI. If your setup lacks HDMI, consider a coaxial-to-HDMI converter for compatibility.
Using OTA Antennas: For local channels, attach an over-the-air antenna. Ensure compatibility by checking if your monitor accepts the needed output, typically HDMI, through an external tuner.
Optimizing the Setup for Best Experience
Make necessary adjustments for a more immersive and enjoyable viewing experience:
Adjusting Picture Settings: Access your monitor’s menu to tweak the brightness, contrast, and color settings. Adjust these to match your viewing environment or content type.
Arranging Your Setup Physically: Ensure your monitor is positioned at eye level and within comfortable viewing distance. Stands and mounts might help achieve the best ergonomic setup and save space.
Cable Management Tips: Use cable organizers or ties to keep your setup tidy, ensuring cables do not tangle or become damaged over time. Good management also contributes to a stress-free viewing area.
Troubleshooting Common Issues
Even the most well-planned setups can encounter problems. Here’s how to handle some typical issues:
Video Connection Problems: Check that all cables are properly connected. Attempt alternate ports or cables to diagnose persistent connection issues.
Audio Issues: Verify that both your monitor and devices’ audio settings are correctly set. Swapping between output modes, or trying a different audio device might resolve sound issues.
Device Compatibility Concerns: Not every monitor will support all features. When problems occur, consulting device manuals or dedicated online communities can provide additional insights and solutions.
Conclusion
You have completed the transformation, successfully converting your monitor into a fully functional TV. Enjoy your new multimedia setup that maximizes utility and cost-effectiveness, transforming how you engage with visual content. Follow the steps herein, and should you face challenges, the provided guidelines offer clear, practical solutions. With minimal investment, you’ve expanded your viewing options significantly.
Frequently Asked Questions
Can I use any monitor to turn into a TV?
Yes, most monitors can be used, but ensure compatibility with your devices by checking input/output ports and using the correct adapters.
Do I need a special cable to connect my monitor to a cable box?
Typically, an HDMI cable suffices. However, depending on the input/output ports of your devices, a specific adapter might be necessary.
How can I improve the sound quality of my monitor-turned-TV?
Enhancing sound quality often involves using external speakers or a soundbar, connected directly to the monitor or via Bluetooth.